More on Maker's Bingo Cards

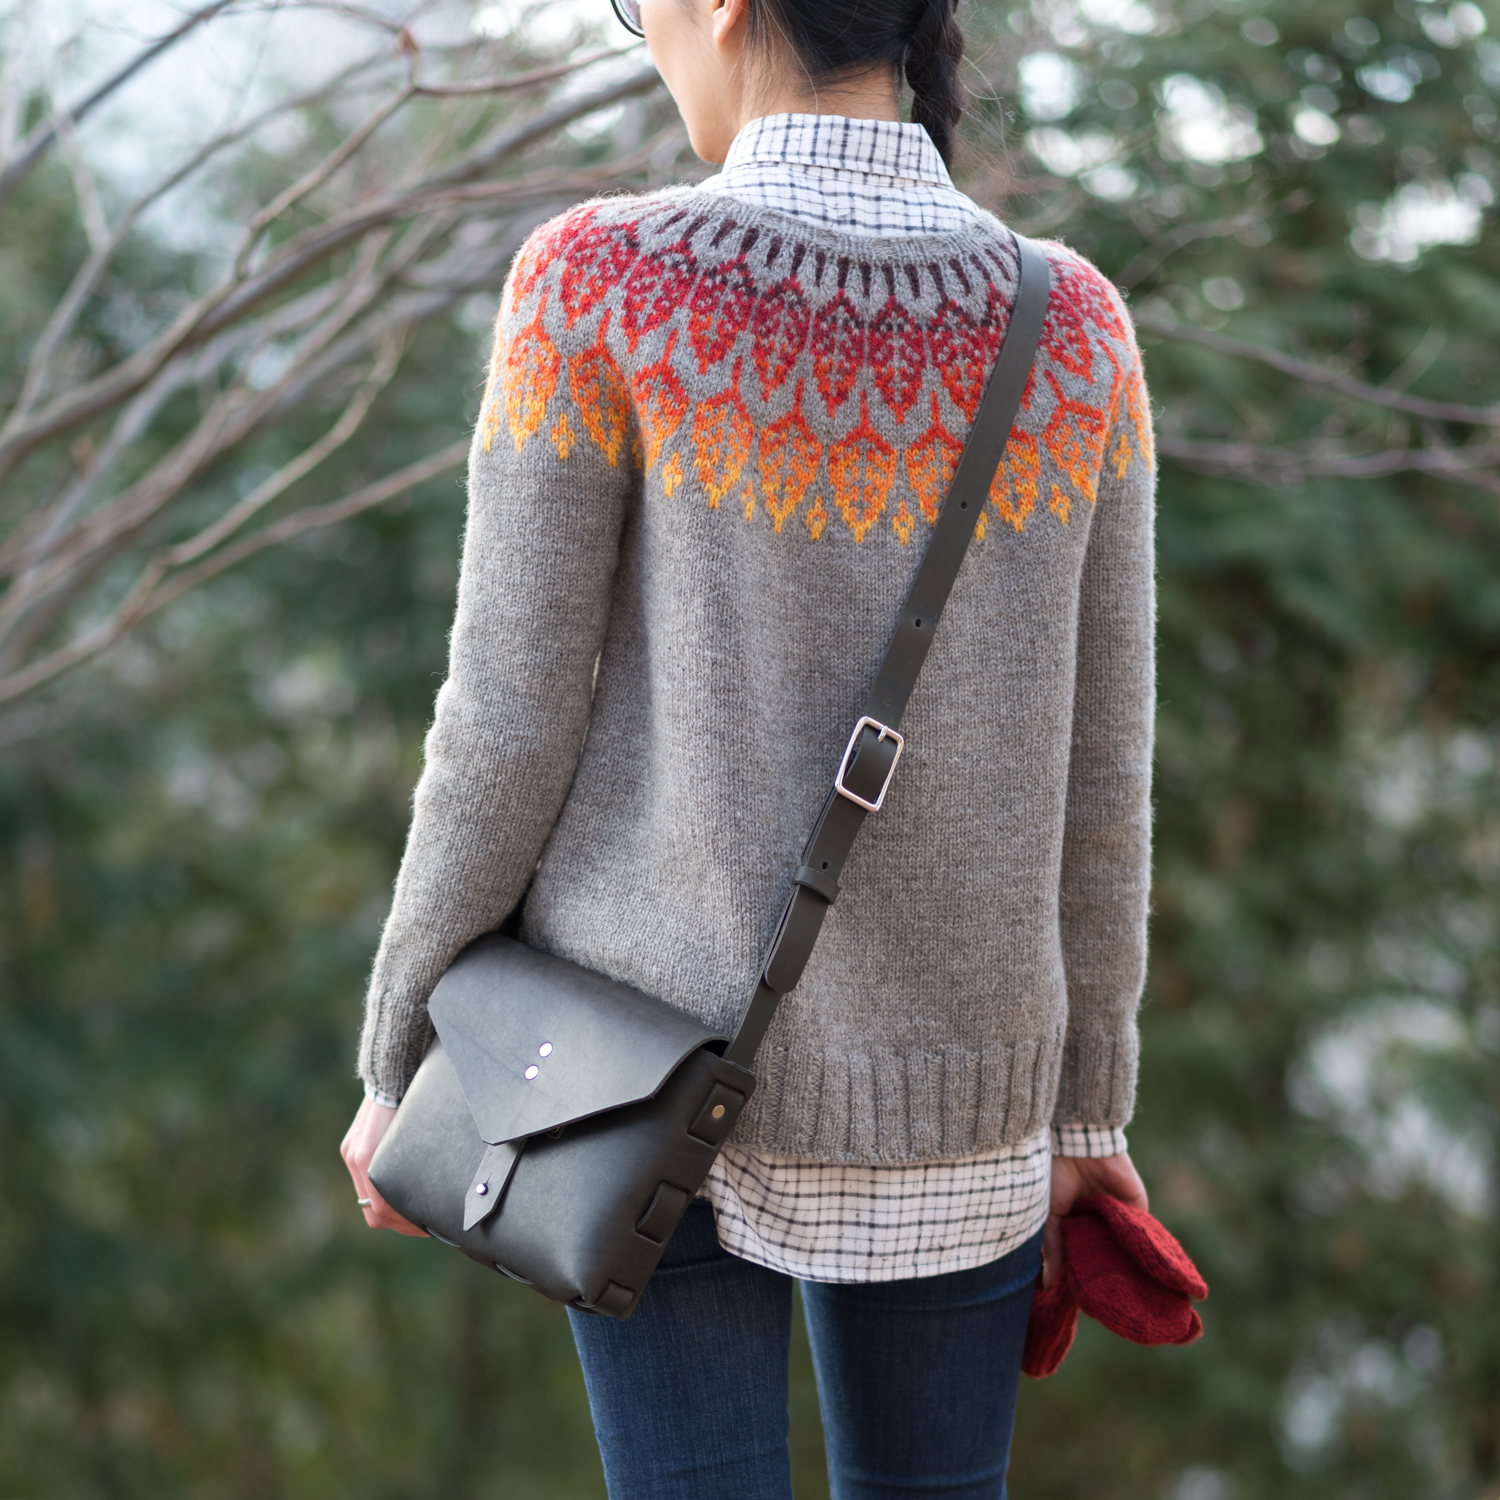
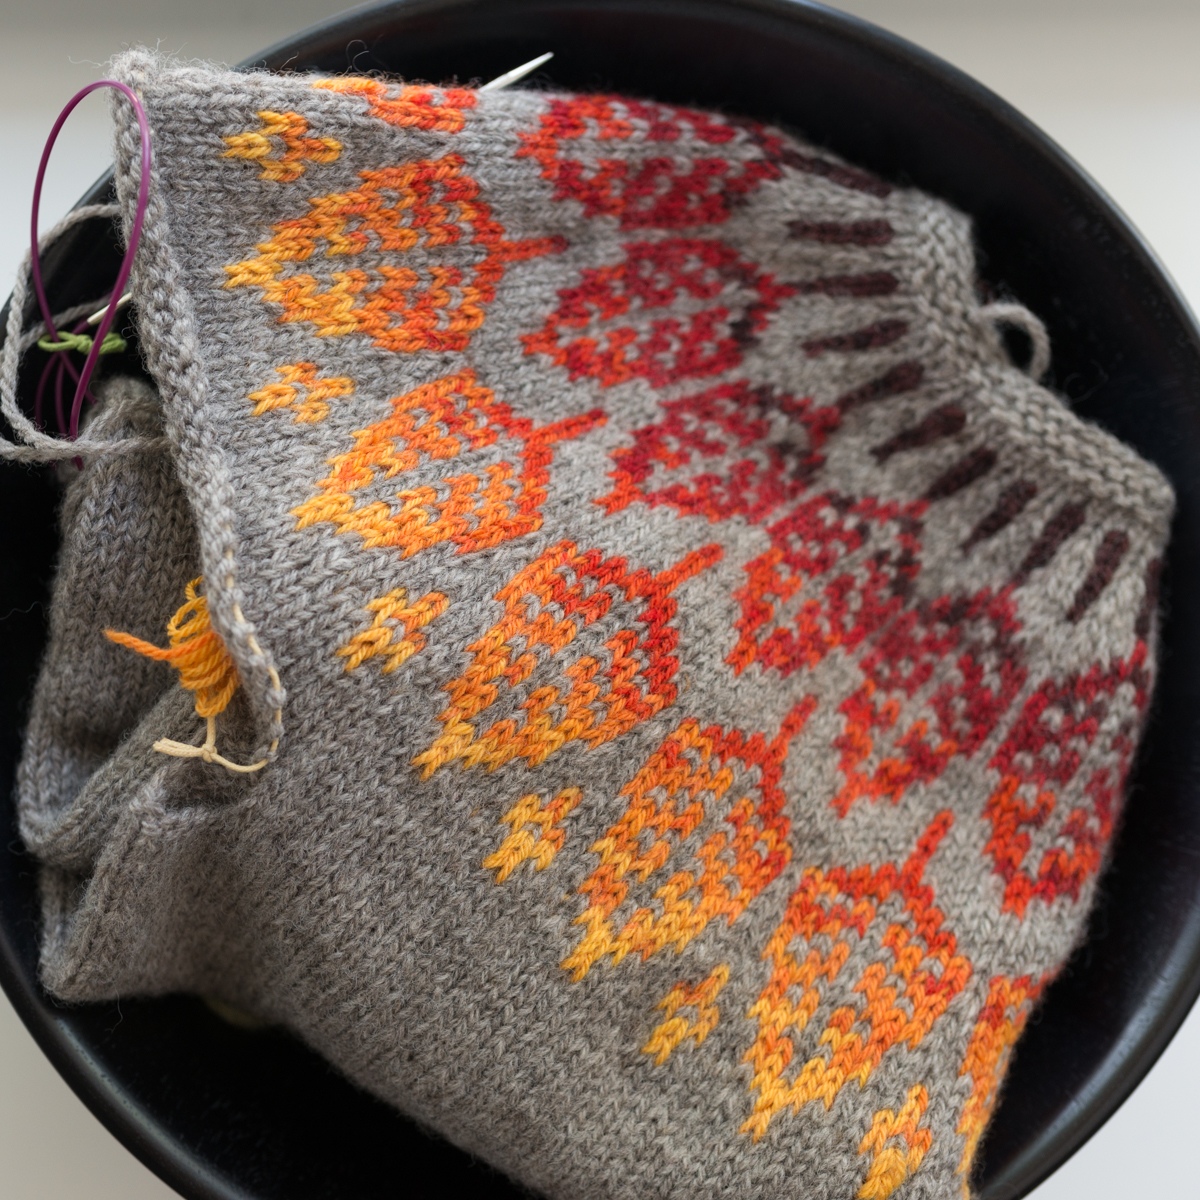
It speaks to my current state of indecisiveness that only a few days in, I have already changed my 2019 making plans. I realised there was going to be a problem since the first project I started this new year was not on my list of twenty-four potential projects. Oops.

I decided to give myself four more “Free Space” tiles so that I could count some of the non-selfish making I might do and because I will probably keep thinking of other things I want to make over the year. My card now looks like this:

2019-Maker's-Bingo-Card_AY_v2-1.jpg

Anyhow. As I was rethinking my Maker’s Bingo card arrangement, a few people expressed some interest in playing and it started me thinking about all the ways you can play Maker’s Bingo. I am not fond of rules when it comes to making future plans, mainly because I can’t stick to them. So, no rules are involved except the ones you make for yourself and in the spirit of making this a super-flexible and light-handed way to motivate yourself to get some stuff made this year, I offer a few thoughts on ways you can use these bingo cards:

  1. Play with friends—first person to get BINGO perhaps wins dinner on the other players, or just good old bragging rights

  2. Go au solitaire—personal challenges are sometimes the best kind. I’m sort of in between. I am playing alone for now, but I’m following the #2019makenine tag on Instagram for something like company, but company you aren’t obligated to make conversation with. (As predicted, my #2019makersbingo tag is currently all by its lonesome.) You can add a little motivation for yourself in the form of rewards. I would suggest yarn, but if you are like me and on a stash diet, maybe something less dangerous might be in order. For myself, I imagine there will be chocolate involved (which is also dangerous, but delicious.)

  3. Make new bingo cards as the year progresses or when you get BINGO. You can remove completed projects or start from scratch each time

  4. Put five free spaces in a line. I put all my free spaces on different lines because I didn’t want to make it too easy for myself, but if a row of free spaces is going to work better for you, go for it!

  5. Increase your odds of getting bingo and make multiple cards to play all at once by giving each card its own category. For instance, one card can just name yarns/fabrics/materials and another card can just be actual patterns or types of patterns. Other cards could list things like techniques, favourite pattern designers…you name it

  6. If playing with friends, try “inverted bingo”. The winner is the person who fills in the most squares without getting bingo

  7. Combine this with your Make Nine Challenge or any other make-a-long you signed up for. This works if some or all of your projects are not completely set in stone. You may not have chosen the yarn, fabric, or pattern so you can list the possibilities on the bingo card. Again, you can play with or without friends although beating your friends might be good motivation too, if you’re the competitive type

On a related note, I have made a small change to the website since I have actually started to see something I will call “traffic” but with the understanding that 300% of next to nothing does not really amount to much. I made a new tab (upper right corner) called Printables where I’ll be putting direct links to my knitterly printable graphics from now on. This is where you’ll find blank Maker’s Bingo cards (a version with one free space, another with five! free spaces). I have a PDF version and a JPEG version of each, depending on whether you want to print the graphic (letter-size paper) or you want a digital image to use on an online platform.

This might be the year I finally put some real effort into this website so a little organization might be in order!

E2a: I’ll be (trying to) update my progress with this Bingo card here

Let me know if you’re playing or if you have other ways to play Maker’s Bingo!

E2a1, April 15, 2020: Well, 2019 is a distant memory now. Heck, last month is a distant memory now. Since I’ve noticed people are still looking at this page, I thought I’d add a generic blank Makers Bingo Card to my printables page that isn’t dated because space and time have gone topsy-turvy and I don’t know when I’ll be back.


2019 Maker’s Bingo

Last Christmas, I dusted off my sewing machines and got reacquainted with them by making some simple dresses for a friend’s little girls (both of whom I would declare are the two most delightful children I have ever met. I’m sure it’s entirely coincidental that they are also the two most appreciative of the things I make them.) It was such a great feeling being in front of my machines again that I really wanted to make more time for the simple pleasure of making things with my hands. I decided to join in on the #2018makenine challenge hosted by Rochelle of Home Row Fiber Co. because I thought I could use the inspiration and motivation. To my surprise, I did complete most of my Make Nine projects and made several more things in addition to that. Seeing as I suspected I would abandon ship mid-year, I’m pretty good with how it went, but in this new year, I’m going to change it up a little.

I think I’d like to have a little more latitude in choosing my projects this year instead of laying out a list of nine projects at the start of the year that may lose their shine in several month’s time. I still don’t want to be completely rudderless, so I decided to draw up a Maker’s Bingo Card with 24 possible projects I can choose from (all using stashed fabrics or yarns, because, yeah, to my shame, I have more than 24 projects’ worth) and one (traditional) “Free Space” for an unspecified project of my choice. Am I going to regret giving myself too many options once I get mired in indecision? Maybe, but this year, I haven’t got a list of nine must-make items, just a lot of stash and a few gaps in my wardrobe that I’d like to fill, if the opportunity arises.

I’m still deciding how I want to fill out the 24 squares, but here’s a possible card:

aMusingyarns_2019MakersBingoCard.jpg

So far, I have some specific projects, some general ideas for projects, and some specific stash (mainly just skeins of sock yarn for easy, portable projects). My criteria for drawing up this list was that everything on it would be made with fabric or yarn that I already have. I’m continuing my efforts to reduce my consumption, so the plan here is to identify items that I could really make use of but that don’t require me to do any real shopping beyond small notions or possibly patterns. I don’t urgently need all 24 items on this list (and I seriously don’t think I’ll make even half of them, if that!) but some of the projects are really more about expanding some of my skills in addition to making useful items. I haven’t picked out any specific patterns this year because although I know it could potentially save me a lot of time, again, I just want the flexibility of choice.

I’ll still be following the #2019makenine tag on IG because I think #makersbingo is going to be as lonely a hashtag as my #mendormodifynine which even I couldn’t trouble myself to keep up because it would have necessitated taking photos of fairly boring things.* If, by some chance, Maker’s Bingo is of interest to you, here’s a blank bingo card for you to print and fill in. Of course, it’s a pretty simple thing to sketch on paper so you can always just draw a 5x5 grid of your own in your own style, but for those of you who prefer low-resistance, this is for you!

You can list anything you like. For example, you can just identify a yarn or fabric (or whatever material your particular making hobby uses), specific patterns, general categories, techniques, or clearly defined projects and arrange them anyway you like in the grid. You can even cut small samples of fabrics and yarns and affix them to the card, or sketch a design in the square. I tried to make sure that none of my potential projects overlapped with another square on the same grid, such as having a specific yarn in one square and a project like “mittens” that might be made with the aforementioned yarn. I suppose making multiple cards could help with avoiding overlap. For instance, one card could list fabrics or yarns and another could have patterns, or techniques you’d like to practice. The goal is to call bingo this year so more cards could increase your chances!

Now that’s done, I should probably stop avoiding making actual New Year’s resolutions for 2019. So far, I’ve got: buy less stuff and keep a real-time record of which WIPs my various knitting needles are buried with or else I’ll have to keep buying more stuff.

UPDATE (jan-06): It didn’t take long for me to realise I could use a few more free spaces on my personal bingo card. My revised card along with some further thoughts on how to play Maker’s Bingo with friends and/or in conjunction with other make-a-longs you’re participating in this year can be found in the post: More on Maker’s Bingo. Also, I have added another blank card with extra free spaces and I now have a tab in the top right corner for all the printables I make available on this site!


Footnotes:

*My mend or modify project actually was mostly a successful endeavour for me—I just couldn’t make myself photograph everything because I am highly resistant to photographing myself. However, I plan to continue with this project and I’m going to make more of an effort to document it because I sometimes feel like I’m just talking about what I bought and what new things I made, as if having more new things is a goal in itself. My real goal is to balance my making hobbies with my efforts to consume less by only making what I need and making the things I have last as long as possible.

Slow knitting

Maybe I shouldn’t be, but I’m pretty happy with how this sweater turned out.  I don’t even remember exactly what I was envisioning when I began it, but I think it finally got there, or somewhere in the general vicinity.

Pattern: Arboreal by Knit.Love.Wool. Yarn purchased from Alpaca Avenue

Pattern: Arboreal by Knit.Love.Wool. Yarn purchased from Alpaca Avenue

This sweater was supposed to have been a relatively quick diversion from my #2018makenine lineup, which had been progressing at a good pace back in April, when I cast on. I allowed myself to go off-script and break my own rule about only using existing stash* because the Make Nine Challenge isn’t meant to be restrictive in any way.  Besides, I reasoned, I had a long standing ambition to become proficient in stranded knitting** and although I have dabbled with small Fair Isle projects over the last several years (mainly hats), the goal all along has been to knit a full-on Fair Isle garment of some kind.  I needed practice! A simple stranded yoke sweater seemed like the ideal project to get my feet wet instead of trying to dive straight into Marie Wallin depths. And, let’s be perfectly honest, I got sucked into the vortex of amazing colourwork projects on IG.

Arboreal has an easy-to-follow colourwork pattern with very few long floats but I also just enjoyed the idea of a leaf motif because I wanted this sweater to represent something personal.  I wanted it to be an ode of sorts to Ontario, to home. In particular, I wanted it to be about autumn in Ontario because no matter where I travel in the world, no matter the season, no matter how impressive everywhere else is, I will love an Ontario autumn more than anything else because nothing else feels so much like home to my soul.

It seems improbable, but I didn’t have any appropriate yarn for this sort of project in my oversized yarn stash (I’m a recovering superwash wool addict), so I decided that if I was going to break my yarn diet, I would do it by buying as local as possible.  I’m all for supporting my local fibreshed but since I buy much less yarn than I did in the past, I don’t have a lot of opportunities to do so and this project seemed like an especially good excuse to shop local. That meant paying a visit to my go-to source for ethical and local yarn, Alpaca Avenue (which is no longer a brick & mortar shop, but Kerstin is keeping it all going in an on-line capacity).

I really only needed two colours for this pattern, the main and the contrast, but I figured if I was going to knit with colour, it might as well be colourful, right?  For my main, Kerstin showed me a really unique yarn that she had had processed from a batch of fleeces she obtained almost by chance from a sheep farm on St. Joseph Island.  The colour is a lovely natural heathered grey (my favourite) and the wool is airy but warm. I knew that I was looking for a Canadian-dyed yarn for the contrast, preferably in some sort of gradient of fall colours but I knew that was going to be a tall order since my extensive online browsing did not find me any likely candidates in the right weight, regardless of the country of origin.

Kerstin had something quite nearly perfect--the wool was even grown, milled, and dyed locally*** -- except that it only came in a fingering weight.  I was a little disheartened because I had my heart set on nearly this precise colour combination but while we chatted and brainstormed, it hit me that I could double the fingering weight yarn to get a worsted weight and I could make the gradient pack of minis blend even more smoothly by changing the strand combination every few rows.  Doubling yarn while knitting Fair Isle is probably not something a beginner should dive right into, but the colours called to me. The yarn is Elora in the “Girl of the Limberlost” gradient pack. (More yarn details are on my Ravelry page for this project.)

Because she is just a super person, Kerstin kindly gave me some partials she had sitting around so that I could test the colour combination before committing to buying the pack.  (She’s really the best! She cares as much as you do about the success of your project). Once I had blocked my swatch, I felt like it was going to be a great project.  I was prepared to hit a few speed bumps on the way because I was completely new to colourwork sweaters, but even with that proviso, things did not go as I had hoped.

For a long time, this sweater was touch and go.  I spent the majority of the many hours I put into this sweater highly doubting if I was going to end up with something I’d be happy with.  After the initial euphoria of knitting my first colourwork yoke and being quite delighted with the colour combination, I soon came to the demoralizing realization that it was probably not going to fit me very well.  I had a pattern drafting instructor who always admonished us to be aware of how “flesh is distributed differently on different people even if they are the same size”. Truer words were never spoken (in a pattern drafting class, at least).  Let us just say that I do not have a fleshy upper body so a partially knit circular yoke sweater on me looks a bit like an opened umbrella. I checked my stitch counts and my gauge and everything was presumably spot on. I perused the projects in Ravelry to see if anyone with a similar body type had the same issues, but no one seemed to. So I pressed on, hoping that it would all work out.  It didn’t.

This sweater was begun eight months ago.  Even if you don’t count the months-long hiatus I took from it, I spent a ridiculous amount of time working on this sweater.  I ripped out entire sections multiple times and fiddled with different needle sizes, stitch counts, shapes, and more until I felt that I was satisfied. I even cut off the neckband after I had blocked the completed sweater because the garter stitch just didn’t seem to work for me. This is not how I like a project to go, but sometimes, you just know that it isn’t right.  And when it isn’t right, it isn’t likely to be worn by me or anyone else. I am not by nature someone who enjoys torture, but I will (sometimes) subject myself to the pain of frogging and reknitting when faced with the prospect of an unusable end product. (It probably helps that I am as much a process knitter as I am a product knitter.)

I don’t think this is what people mean when they refer to “slow fashion”, but it does fit into my notion of slow fashion.  It does no one any good if I make a sweater that won’t be worn with joy by anyone, because then it isn’t going to be worn, period. I really don’t ever want to make a thing that won’t be used or won’t last long because I was too lazy to do it right.****  By “right”, I mean that the quality of my workmanship has to be high, the fit has to be appropriate, and the aesthetic has to be pleasing (at the very least to my eye). I think this is one of the reasons I don’t manage to make a whole lot in a year.  I’m not expert enough to get things right without a lot of re-working so I probably need three times the number of hours as anyone else to finish the same garment. Definitely, this sweater took me at least three times longer than I anticipated.

However, I don’t know if in truth I just finally took pity on myself and called it done.  I have to wonder because my partner, who is always perfectly politic about my style choices, had to choke back some laughter when he saw me wearing this.  Maybe after I pack it away for the summer next year, I’ll have a better sense of how well (or not well) this all turned out since it will give me time to regain some objectivity.

For now, I’m going to be toasty warm and totally secretly smug that the extra effort wasn’t utterly wasted.


Footnotes

*Using stash yarns, stash fabric, and preferably stash patterns, was part of the reason I participated in #2018makenine.  I already had everything I needed to participate and I thought this would give me some motivation to finally make use of stuff that had been waiting for ages to be made up into something

**Cabled sweaters and Fair Isle sweaters were the reason I took up knitting in the first place.  Cables were easy to learn and for the first few years, virtually everything I knit was laden with cables. Fair Isle was a whole other can of worms. I have an old Istex Lopi pattern book I picked up when I was too young to even afford the amount of yarn that was required (12 or so different colours plus the main colour!?) for the sweater that I wanted to (one day) knit. I think I only hang on to that old pattern book to remind myself of my propensity for making grand plans and then abandoning them

***Quebec is local enough, n’est-ce pas?

****I never want to make a failure of a project, but I can’t lie, it definitely happens.  Sometimes, I just can’t bear another day struggling with a project and I have to concede and move on, presumably to return to it when I’ve had a chance to regroup. (My life is littered with the remnants of failed projects.) If/when I post my #2018makenine wrap-up, I’ll have some examples to share

Knitting Tools-Day: Bowls

Today’s Knitting Tools-Day topic wasn’t the one I intended, but since my intentions and I tend to part ways soon after we meet despite all our promises to get together soon, we begin my belated second Tools-Day post about bowls.  (This post is not about yarn bowls, which serve an entirely different function.*  I’m talking about bowls, like the kind you might serve a salad in.)

Today’s “tool”, you may point out, is not really.  Truthfully, I didn’t think of bowls as tools until this morning** while I was trying to sneak in a few rounds on a seamless sweater sleeve.  I’ve been using this bowl to knit larger projects for so many years without giving it a second thought, it hadn’t dawned on me that it fits nearly all my requirements for a good knitting tool.  Namely, that it makes the knitting process easier, more efficient, and therefore, more enjoyable.

If you have knit anything that reaches a certain mass which makes it rather burdensome to keep turning over your project for each new round or row, you probably have some inkling of where I’m at with this sweater right now.  I’ve been at this stage for a while because there was a lot of frogging in the last several weeks and I might have given up all hope without this handy wooden bowl. (Well, maybe not really, but I’m sure it would have been a more frustrating experience without it.)

Working on my Arboreal sweater which has reached critical mass. And maybe not coincidentally, reading Endure by Alex Hutchinson

Working on my Arboreal sweater which has reached critical mass. And maybe not coincidentally, reading Endure by Alex Hutchinson

The bowl was rescued from a fancier-than-usual Christmas gift basket we received many years ago.  I initially wasn’t sure how I was going to dispose of the bowl after devouring all the edibles, but my inner-hoarder saw that it wasn’t actually a bad looking bowl and hey, I might be able to make use of it one day.  (The mantra of hoarders everywhere).***

It was the perfect size for a salad bowl but I wasn’t about to vouch for its actual food safety so it was relegated to holding WIPs or yarn that was soon to meet its destiny.  This clearly is not a specialized function that is served only or best by a large wooden bowl, but what I did shortly discover was that setting the bowl on my lap and knitting with my growing project in the bowl meant that those seemingly endless turns of a heavy in-progress sweater, just glided around with very little effort while keeping the bulk of what I knit contained (no flailing sleeves or live circulars getting caught or sat on by anything (or anyone).  The smooth surface of the bowl also meant no pilling from the constant abrasion against my clothing, and as a bonus, minimal shedding onto my lap! (I often knit woolen spun yarn so the shedding is real.)

You probably already have a bowl in your home that could be repurposed into a “knitting bowl” or you could easily find an appropriate bowl new or used.  If you’re wondering how to choose a bowl, I offer a few thoughts for your consideration:

  1. The sides of the bowl should be low enough so that you don’t have to raise your arms uncomfortably high while knitting but not so low that your project isn’t contained

  2. The bowl should be wide enough so that your project is resting inside and not spilling over the edges

  3. The bowl should be able to balance on your lap without tipping over.  Depending on how you sit and the geography of your lap the shape and width of the bowl’s base can affect how well the bowl balances

  4. A smooth surface inside the bowl and around the edges is necessary so that your yarn and project are not getting snagged (live-edge wood bowls might look nice, but they probably won’t function well for this purpose)

  5. Although I haven’t actually tried knitting out of steel, ceramic, or glass bowls, my guess is that these options are not ideal.  Steel mixing bowls may be too light to stay in place, and if you have any metal needles or stitch holders in your project, I don’t think you want them scraping against the bowl for the sake of your ears and whatever finish is on your actual knitting tools.  Ceramic and glass could be uncomfortably hard and heavy--and they are breakable. Imagine all the ways that something resting on your lap can find itself crashing onto the floor through no fault of its own

  6. Wood is my preferred material because it isn’t cold to the touch, it doesn’t make a horrible sound when my stitch holders are dragging along the bottom, it doesn’t break easily, and if you find the right combination of size and wood density, it’s neither too heavy nor too light


I know I can’t be the only person who knits out of bowls but I won’t try to argue it’s for everyone.  Although, I sometimes wonder if some of those knitters who hate knitting seamless sweaters might find that a nice big bowl was all they were missing. (ETA: a phone video of me knitting the final sleeve rounds of my Arboreal Sweater. I would say this is my knitting bowl in action, but “action” would imply something a little more exciting.)

AmusingYarns-3726.jpg

And since I’m on the topic of bowls, I will also give a little love to bowls at the other end of the size spectrum: the teensy bowls.  You probably don’t need me to tell you how useful little bowls can be. I find them especially handy for holding stitch markers, blocking pins, beads, small notions...and veggie matter.  I was once one of those knitters who would reject yarns for containing that dreaded VM but I’ve had a change of heart in recent years. When you know what it takes to clear all traces of VM from wool, you begin to realize how it is currently impossible for small farms and mills to produce a VM-free yarn in an environmentally responsible way that isn’t cost-prohibitive.  I want to support my local fibershed so I’ve come to view VM in an entirely different light. I have an inkling of how difficult and time-consuming it is to remove debris from fleeces by hand so I’m actually pretty impressed by how little VM I find in my locally produced knitting wools.  It speaks to the dedication of those fiber producers.  And really, it requires very little extra time to pick out what little VM remains and I don’t resent it.  In fact, I enjoy picturing those sheep happily grazing and wandering open fields.**** So you may not share my views on VM and you avoid it like the plague, but if you do find yourself unwillingly picking VM out of yarn, I find that a little bowl set within arm’s reach is handier than keeping a garbage bin at your feet.  There are a few reasons:

  1. You can keep it literally within arm’s reach so that there is no need for leaning over and possibly displacing your work

  2. You’ll find that a piece of VM attached to the parachute of a few loose fibers tends to not find its mark if it’s travelling more than one or two inches

  3. This last point is less important, but putting VM in a bowl allows you to always know where that little pile of VM is so you can dispose of it tidily rather than picking it off the bottom of your socks after you knock it onto the floor unawares


So that’s my knitting tool for today.  Not exactly revolutionary or unheard of and, I am the first to admit, not best described as a “tool”.  But it is part of my knitting apparatus that I would not want to do without so there is that.

I’d like to promise you more exciting Tools-Days to come, but while I’m fairly certain I shall post again, I had better not promise excitement. Possible future topics include—sit down if you aren’t already—row counters and stitch markers.


Footnotes:

*Yarn bowls are used for yarn management, a topic I discussed in a bit of detail here

**Actually, Tuesday morning last but I didn’t finish this post before the turn of the day.  Seeing how irregular my blogging is, it really cannot matter if I stick to a Tools-Day Tuesday schedule, but it’s useful to me to have something resembling a deadline, or better yet, something resembling a missed deadline

***You know you’re a potential hoarder if the mere fact that when one in a thousand of those hoarded items does turn out to come in handy it is sufficient justification for keeping all the other 999 miscellaneous things

****That sounds like romanticizing and possibly wishful thinking, but the locally raised wools I have purchased in the last few years have come from farms that I feel reasonably sure are committed to the welfare of their animals, so I will romanticize away